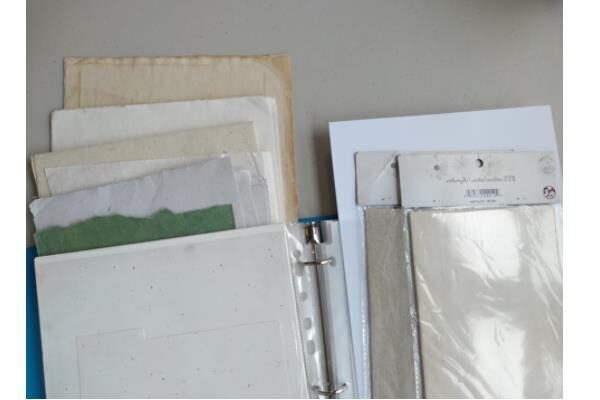
1 – I keep a collection of card stock, paper that could be cut and folded and
turned into a card. I collect a variety of colors and textures.
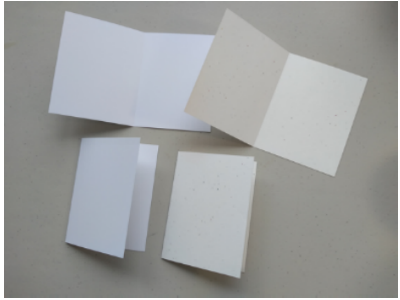
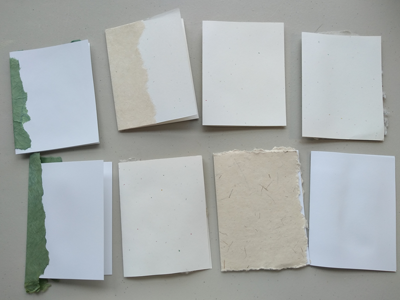
2 – Select card stock, figure out desired size, cut into double the size,
then fold down the center. I have chosen 2 types, and I’ve cut and folded to make 8 cards.
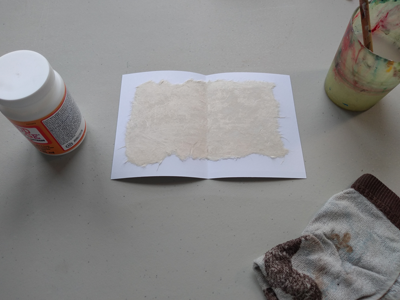
3 – Choose a few accent ‘fabric’ papers, cut or tear pieces to fit inside cards or onto the front
or around the spine. I’ve chosen a few different pieces and I’m thinking of a few different designs.
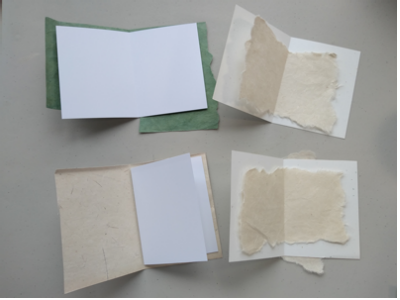
4 – Set the accent paper and card stock together to decide on pieces.
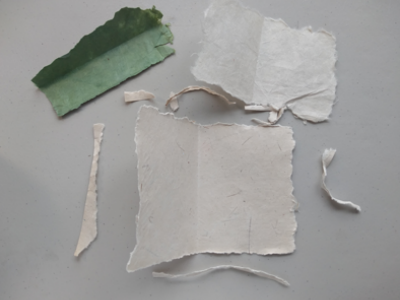
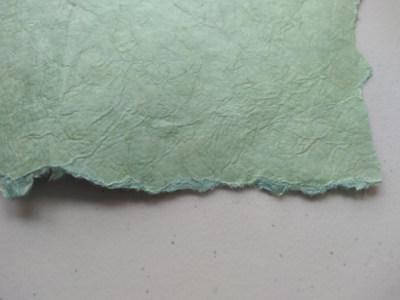
5 + 6 – Have some fun tearing your accent paper and study how the edges look. Different paper behaves differently when torn, ripped or cut and looks different from one side to the other.
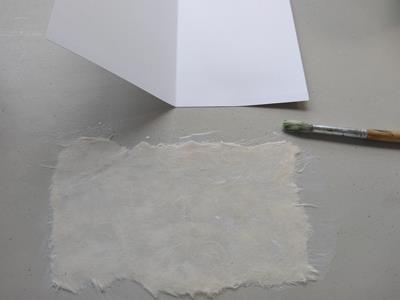
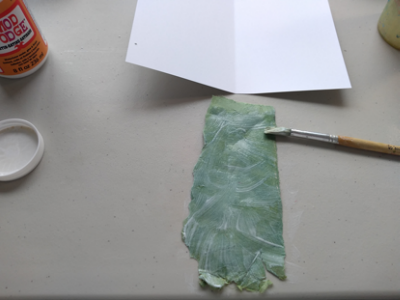
7 – Start putting them together. You can use glue sticks or white glue or mod podge.
I’m using mod podge. Here, I’ve decided to glue one side of the card stock…
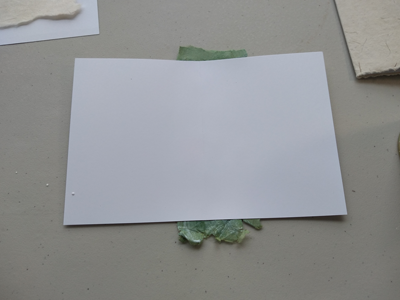
8 – … and then press the accent paper onto it.
9 – This is what it looks like after it’s set.
10 – For this one, I’ve glued the whole back side of the accent paper…
11 … and pressed it onto the inside of the card stock.
… It’s a good idea to keep a paint water cup nearby to keep the paint brush clean
and a damp cloth to wipe down your table surface between cards so the glue doesn’t
get onto the ‘wrong’ sides of your paper.
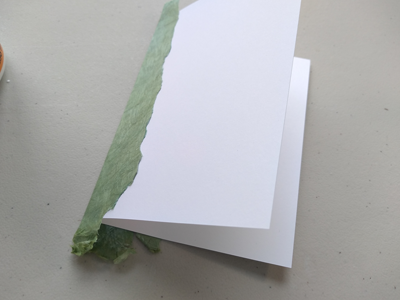
12 – For this card, I’m gluing the back side of the accent paper…
13 … pressing it onto the card stock across the middle of the spine…
14 … and then folding it to create the desired shape.
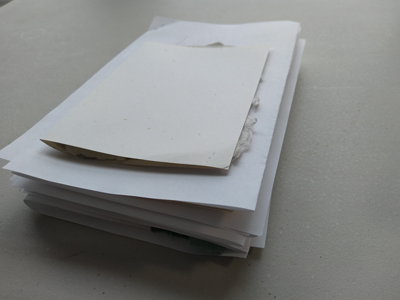
15 – Here are all 8 cards, with accent papers attached. Leave them to sit and dry for a few hours. I like to give them overnight.
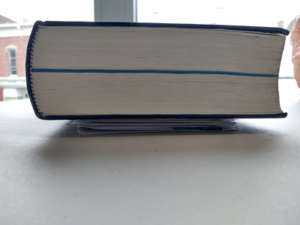
16 + 17 – Stack them with scrap paper or parchment paper between them and press under a heavy book or another flat weight.
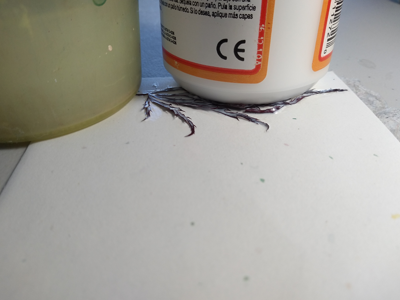
18 – On to the pressed flowers and leaves. I keep mine collected in a handy book.
19 – It’s important to press them properly first though. I press mine freshly picked, between scrap
sheets of paper. They can be pressed either inside or under a heavy book. The scrap paper
will absorb some of the moisture while it dries. It’s important NOT to seal them or
press them in plastic. They WILL mold!
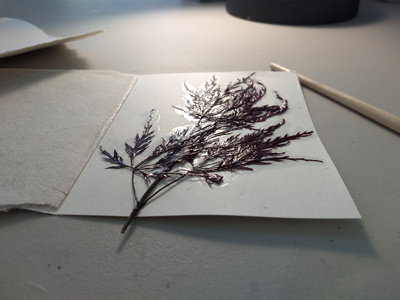
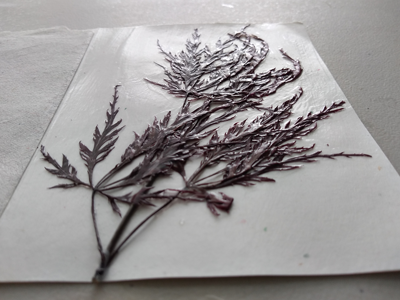
20 – Once they are dried, I like to keep them between some fresh scrap sheets of paper,
and insert them in protective sleeves in a binder or duotang book. Here, they’re still exposed to air
and WON’T mold, but are organized and easy to find.
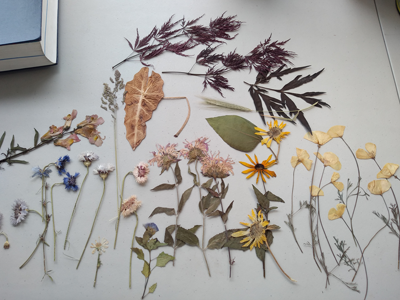
21 – I like to take out a big variety of flowers, leaves and grasses to consider with the cards.
22 – When making multiple cards, I like to figure them all out together before putting the flowers away.
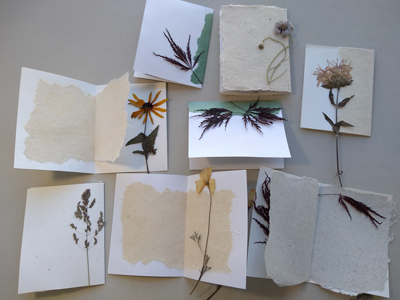
23 – Here are the 8 cards, planned out with selected flowers, leaves and grasses.
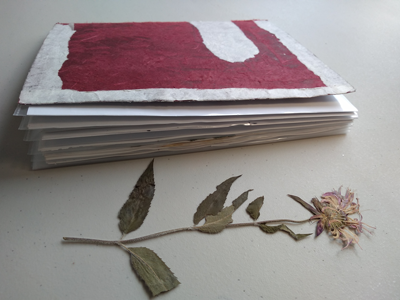
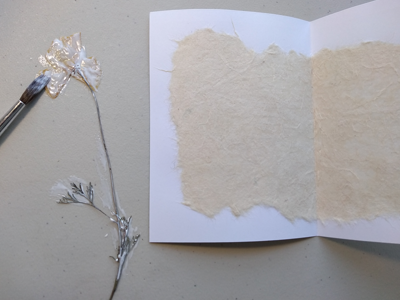
24 – For this card, I’ve chosen a poppy flower. I’ve turned it over and glued the entire back side of it…
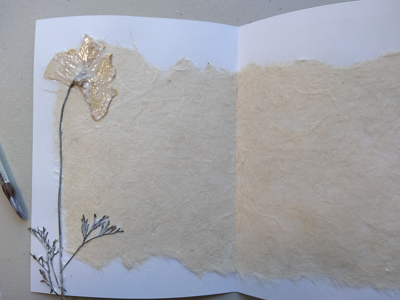
25 – …then set it onto the card. Then I covered the front side, making sure it’s sticking down everywhere. Some flowers lose their petals during this step. It’s ok, they can be set back down where you want them.
26 – Some leaves and grasses stick up, even after being glued, so I add a little weight for a few minutes. A little more glue can be added after, if the weight peels it off.
27 – Gluing down flowers gets messy. Sometimes I like the look of ‘shiny’ glue around the flowers. For this card, I don’t want the look of excess glue around them,…
28 … so I brushed glue onto the whole side of the card.
29 – Here it is after it’s dried. It’s a little glossy which is a nice effect sometimes.
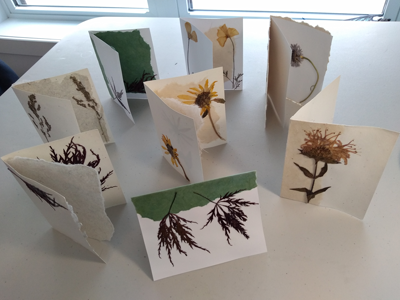
30 – Here are the cards finished after a final press with the parchment/scrap paper in between.
31 – Here they are ‘sitting’/’standing’, ready to use.